
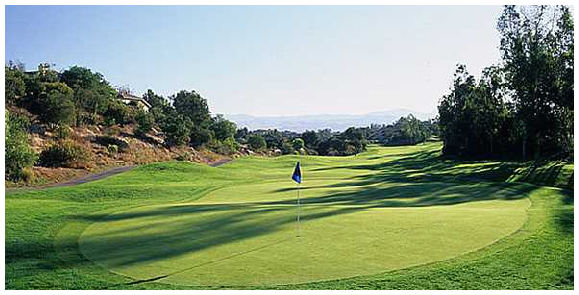
“Sliced Right”
A well-positioned tee shot just right of center leaves you with a short to medium iron into this narrow green that is surrounded by oak trees.
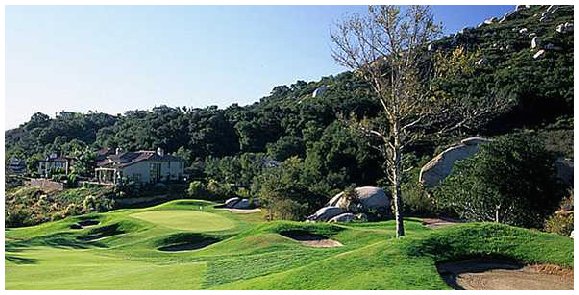
“Razor’s Edge”
Hold on tight!
Accuracy is a must off this tee. Pay attention to the wind usually blowing from the left.
A middle to long iron left of center is a safe play.
A straight hit with a driver, leaves a short approach.
Your uphill second shot will require an extra club.

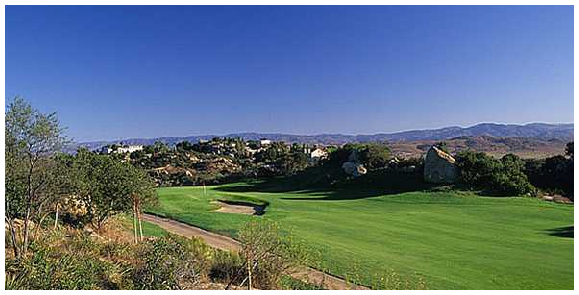
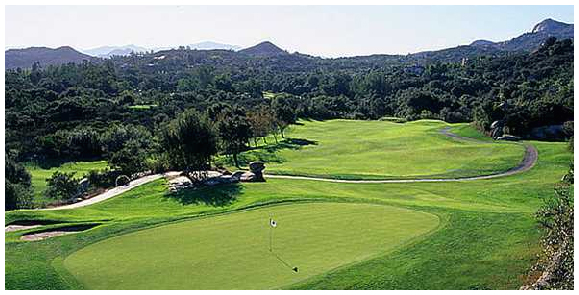
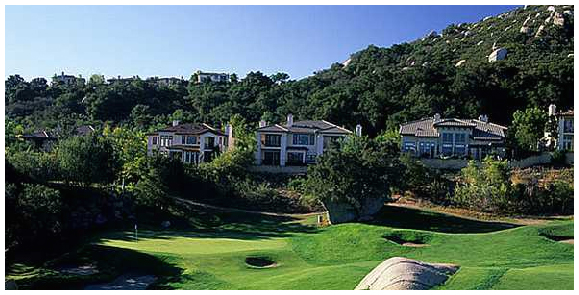
“Ledges”
Wow! This hole is one of the best in San Diego.
From the elevated tees, this hole plays shorter than the yardage. Favor the left side. There is more room than you think.
Good Luck!
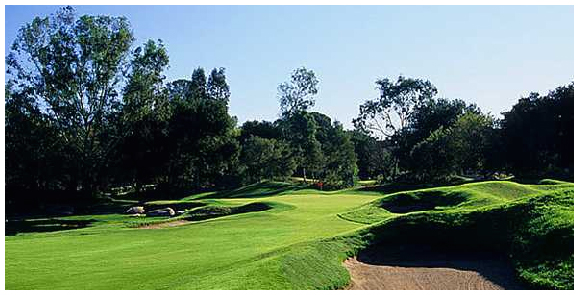
“The Lookout”
A big drive gives you a chance to go for the green in two.
Play your tee shot toward the directional flag.
Placement is more important than distance.
The green is elevated, so be sure to use enough club on your approach.
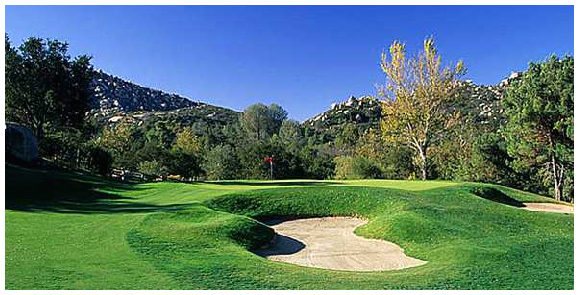
“The Beach”
This dogleg left is the toughest hole on the front nine.
A risky drive down the left side will leave a shorter second shot; however, the lake & bunker come into play.
There is more room to the right than there appears.
Favor the left side of the green on your approach.
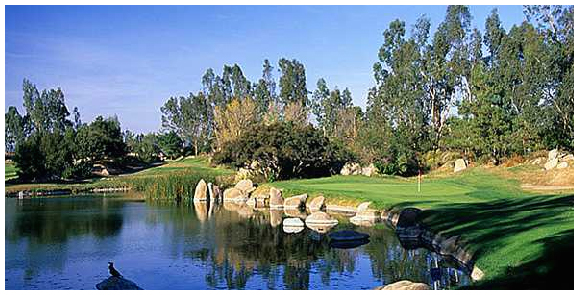
“The Plunge”
No need to flirt with the water on this hole.
Favor the right side of the green where there is more room for error.

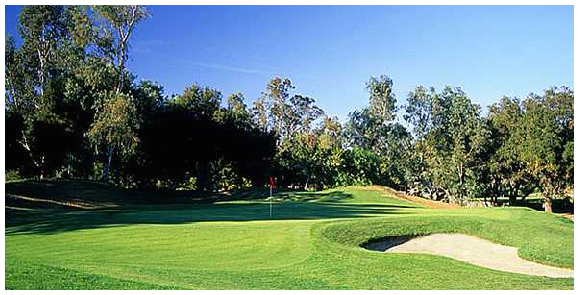
“Walker Bridge”
This hole presents a birdie opportunity with a properly-placed tee shot.
There is plenty of room to the right of the lake and bunker.
You will have a short iron into this small green.
Favor the right side of the green to avoid the water.
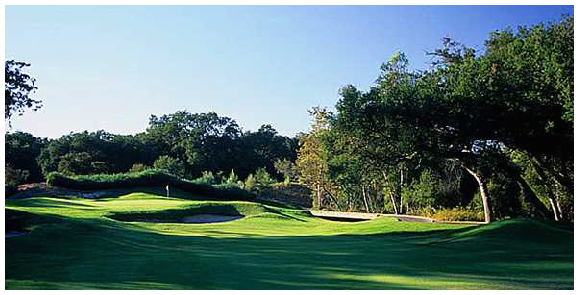
“Drop Off”
From the back tee, there is no advantage to cutting the corner.
Place your tee shot left of center and you will have a short iron for your second shot.
There is no room for error into this green.
A precise approach is required. Don’t be long.
“The Chute”
Although the tee shot is downhill, this yardage plays true.
Favor the left side as there is out-of-bounds on the right.
“Boulder Oaks”
Long hitters can drive this green; however, there is a penalty for an errant shot.
Along iron or fairway wood off the tee will leave a short iron into the green.
Try to leave your approach below the hole as this narrow green slopes from the back to front.

“The Cradle”
Club selection is the key to this hole.
Use one more club if the pin is back left and one less if the pin is front right.
“Tree Tops”
This is one of the toughest holes on the course.
There is a lot of room to the right.
You must carry the ball approximately 230 yards to reach the fairway from the back tee.
Take at least one extra club into this uphill green, two if the wind is blowing.
“Windinface”
The name of this hole almost always holds true.
Accuracy is a must.
From the tee, favor the left side of the fairway as it slopes to the right.
Take enough club into this very deep, three-tiered green.

“Let Loose”
Tee it high and let it fly!
Longer hitters can reach this green in two, but beware, left of the green is trouble.
This hole almost always plays downwind, so make sure you club down enough to this very narrow & firm green.
Birdie is a realistic score here.
“Whale Rock”
Favor the right side on this blind tee shot to avoid the brush on the left.
Long hitters can drive this green.
The safe play is to hit a long iron or fairway wood to the top of the hill, leaving a short iron to a well-bunkered green.

“Make A Bet”
Usually there is a crosswind from the left.
Take an extra club.
Favor the right side of the green, as a miss to the left will leave a very difficult pitch.
“The Forest”
Enjoy the spectacular views from the most scenic point on the course.
Long hitters can drive the green, but the smart play is a fairway wood or long iron to the right of the fairway.
A short downhill approach to a right-to-left sloping green surrounded by ancient oaks remains.
“School’s Out”
This awesome finishing hole requires an accurate tee shot favoring the right side of the fairway.
Make sure you take enough club into this green to avoid the water, especially if the pin is in the back.
Favor the right side of the green.